With spring around the corner, getting your outdoor painting projects prepped is vital. Every exterior paint job needs proper preparation. Without proper washing and prepping, you’ll find that your paint job won’t last nearly as long as it could. The nice thing about painting prep is that it can be done even if it’s a little cool outside. Read on to learn more about prepping a home’s exterior before you dive into a can of paint.
Power Washing
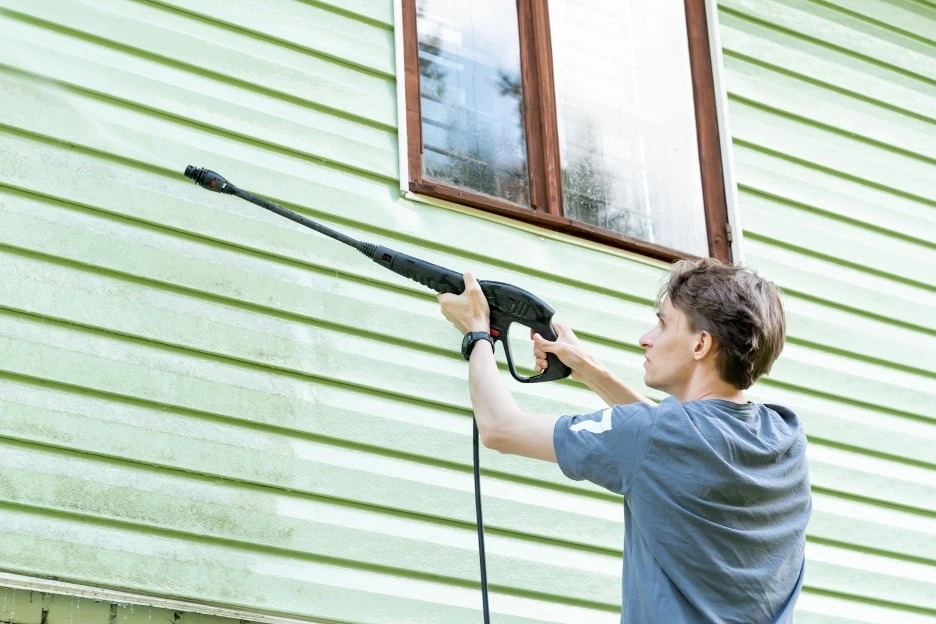
Power washing is a great way to clean and restore the look of outdoor surfaces such as decks, fences, patios, and siding. Power washing a pressure washer and washing with a hose are two very different tasks. This process is much more efficient than simply using a garden hose, as the pressure of the water coming out of the power washer does most of the same work a cleaning solution does. A pressure washer uses high-pressure water to break down dirt, grime, algae, and other contaminants. Pressure washing can also remove surface stains left by mold, mildew, or rust. The pressure of the water also helps remove chalking that has accumulated over time due to weathering and removes loose paint. Knowing when to use a pressure washer or a garden hose can help you achieve maximum efficiency in any given task.

Power washing the siding of an exterior can make a house look brand new as it removes dirt and grim!
Power Washing Safety
Safety should always be a priority when it comes to power washing. It is important to wear protective gear such as eye protection goggles and gloves to avoid any potential injuries. Additionally, always be sure to adjust the pressure and nozzle setting on the power washer before use, as using too much pressure can cause damage. Finally, keep children and pets away from the area while you are power washing since the high-pressure water can be dangerous if not used properly. Following these safety guidelines can help ensure that your experience with power washing is safe and successful.
Moisture Levels
Now that you know the benefits of power washing, you’re one step closer to laying down a fresh new coat of paint. Before prepping you want to make sure that the area is almost completely dry. If the surface is damp when you touch it, do not skip right to prepping. Sometimes power washing can cause the wood to take a long time to dry especially if there is little sun exposure to that specific area. You’ll want to make sure the area is dry before adding wet paint.
When painting, it’s important to pay attention to the moisture levels in the area you’re working in. Moisture can cause paint to bubble or peel and can also prevent it from bonding properly. The best way to ensure that moisture won’t be an issue is by looking out for signs such as condensation on cold surfaces or wet patches on warm walls and ceilings. If there is any evidence of dampness, allow it to dry out completely before painting.
It’s also important to never use a steamer or any other tool that produces steam while painting, as this could cause the paint to come loose over time.
A moisture meter can tell you a percentage of how wet a surface is. Moisture meters are an essential tool for any painter as you can make sure that it is dry enough before starting your project. Moisture meters come in both digital and analog styles, so you can choose the one that’s best for your needs. You want to pay close attention to areas that do not usually see the direct sun.
Prep Work: Scraping, Sanding, Repairing, and Priming!
Scraping
Scraping is a technique used on previously painted surfaces. The process works to remove any old, peeling or cracked paint from a home’s exterior. If a new layer of paint is added on top of the old paint or flaking paint, it is less likely the fresh coat is going to peel off shortly or look uneven. This can be done with a putty knife or a paint scraper tool. It’s important to take care when using these tools and to move in one direction for the best results. Get rid of that previous coat of paint as much as you can so that when the new paint goes down it looks even. However, you don’t need to strip the entire exterior surface down to bare wood.
Taking the time to properly scrape a surface before painting will help ensure that you get an even finish and professional-looking results. When scraping you should be especially careful if you know that lead paint has been used on the surface you are prepping. Lead is extremely toxic when inhaled or ingested. Wear a mask and gloves to prevent any accidental contact with lead paint.
Sanding
When sanding any surface, to avoid piles of sawdust you may want to use a drop cloth or a tarp below the area you are prepping. But, drop cloths can be used to cover up any exposed ground such as a driveway, a garden bed, a deck, or a yard. When painting outdoors using canvas drop cloths may be easier to keep in place. Plastic drop cloths are more likely to blow away.

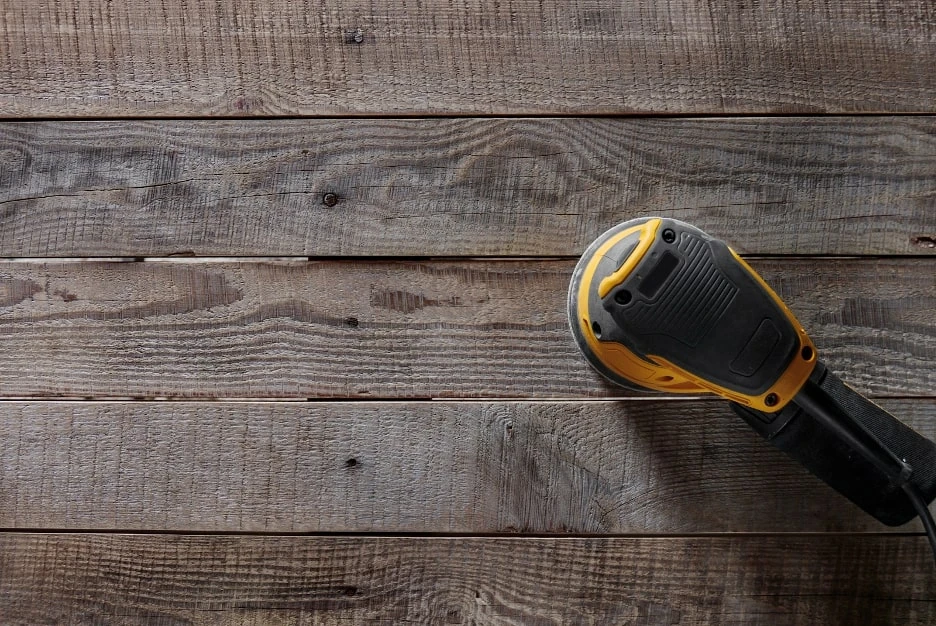
Sanding a surface allows for better paint adhesion.
Sanding is an important step in preparing a surface for painting or staining. It helps to remove any debris and provides a smooth, even finish. Sanding can be done manually with sandpaper, or with a power sander. When using manual sandpaper, it is important to use the correct grit for the job at hand. For wood projects, it is often best to start with medium-grit paper and gradually work your way up to finer grades for a smoother finish and always sand in a circular motion. More weathered wood might be prone to more damage, so be careful in terms of how much pressure you are applying with the fine grit paper or power sanders. From there, simply vacuum up the dust and wipe down the surface with a clean cloth one more time.
Damage Repair
Repairing damages, minor or major, should be taken with caution. Holes and chips in the wood siding or corner boards can be easily filled with wood putty or wood filler. Nail holes can also be filed with wood putty. Fill the hole, crack, or chip with just enough wood filler so that it is at about the same level as the rest of the surface. Depending on how much wood putty you used, it will need ample time to dry before it can be sanded down to an even level.
Larger repair jobs may need a carpenter’s help. If you notice any rotting or loose boards, rusted nails, or large broken areas, consult a carpenter even if it is just for an opinion.
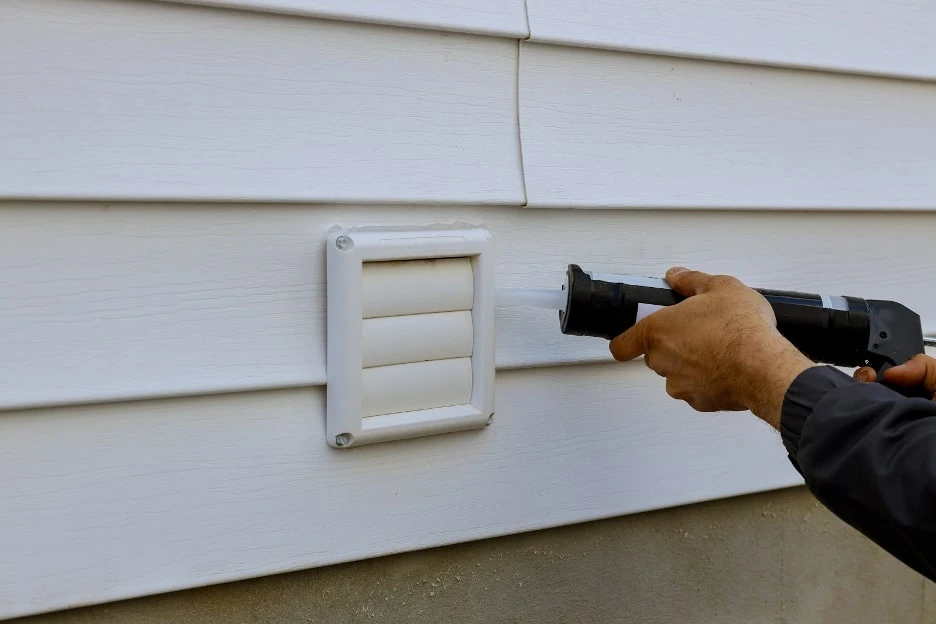
Caulking is an essential step in the painting process, as it helps seal any gaps or cracks in surfaces to prevent moisture from seeping through. In addition to these moisture-preventing functions, caulking also helps improve the overall appearance of a painted surface. It creates a neat finish by filling in any gaps or unevenness, which can give the walls a more uniform look when completed.

Caulking is one way to seal thin or small gaps or cracks.
Make sure to use the appropriate type of caulking for your house and application – acrylic caulk for interior and exterior, latex paint caulks for exterior – and always apply generously so that all cracks fill gaps and crevices are sufficiently filled. It also may be a good idea to re-caulk areas that have been previously caulked. Proper caulking will help ensure that your house and your project look great for years to come!
Priming
Priming is an important step in painting, as it provides a great foundation for the rest of your work. Primer helps the paint adhere to a surface. Primer helps fill in any gaps and creates a smooth surface that is ready to be painted on. It also assists with adhesion and durability, which means the paint will last longer and look better over time. Make sure to use the right kind of primer for your surface – usually, this means an oil-based primer for wood surfaces, but other types of primers can be used as well.
If you plan on using multiple coats of paint, make sure to lightly sand in between each one so that they all adhere properly. Taking the time to properly prime before painting can help you achieve a professional-looking finish! To read more in-depth about priming and paint color refers to one of our previous paint blog posts.
Helpful Tools
Some helpful tools that will help you make your project look professional would be to buy some painter’s tape, a window scraper, a scrub brush, and a wire brush. Painter’s tape can help with detail work such as working close to windowsills or working along ceilings or corner boards. Painter’s tape also allows you to paint over something that was already painted in a different color without ruining another section. A window scraper is super helpful when it comes to working closely with windows. Any drip of paint on a window can be easily removed with a window scraper even if it is hardened and dried. A scrub brush can help remove paint stains from patio furniture, pavement, and wall hangings.
Conclusions
Using all of these steps in your painting preparation will lead to a professional and lasting paint job. Exterior painting usually includes a lot more preparation and planning due to the environmental factors of nature. The house exterior faces more wear and tear than the house interior due to poor weather, temperature changes, and sun exposure. That being said, there is a huge difference between painting indoors and painting outdoors.
Many people skip house painting preparation which leads to the need to hire a professional painter. If this is the case, keep in mind that not all home painting companies offer interior house painting services and exterior house painting services, you’ll want to find a home painting company that offers the specific services you need.


